Labview新啟程——簡(jiǎn)單串口程序

3. 控件布局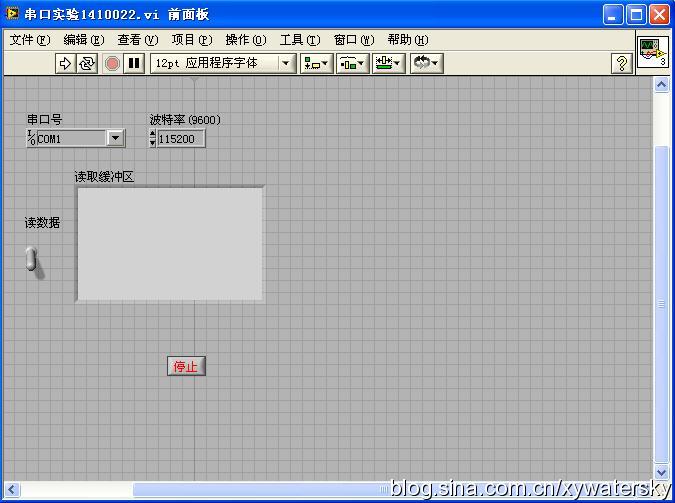
4. 實(shí)驗(yàn)效果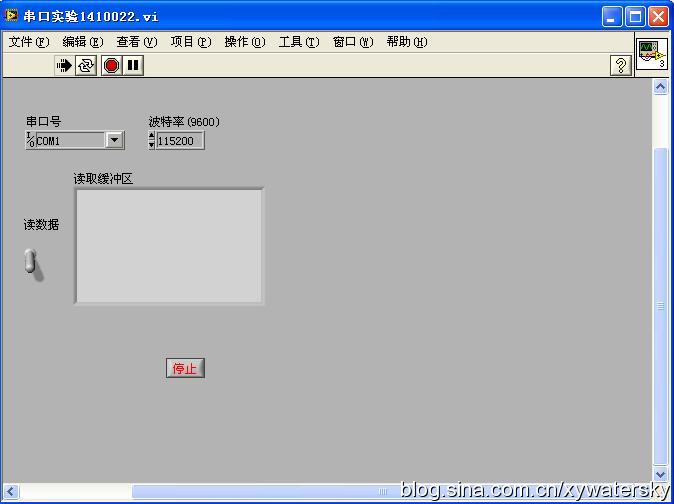
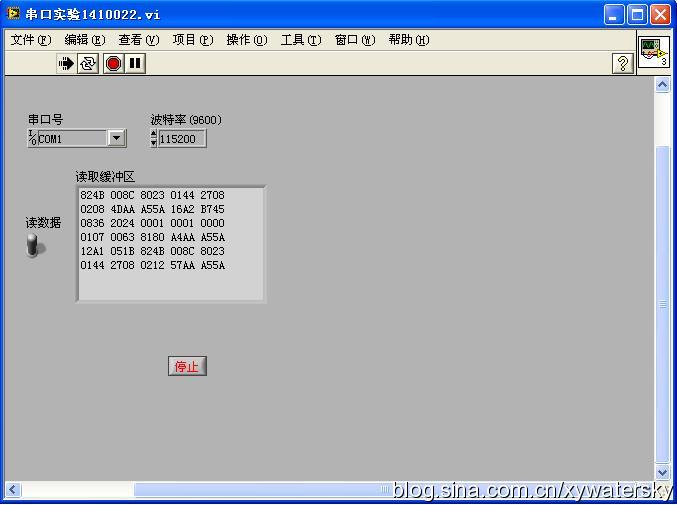
圖7 讀取開關(guān)打開時(shí)程序運(yùn)行情況

關(guān)鍵詞:
Labview串口程
相關(guān)推薦
技術(shù)專區(qū)
- FPGA
- DSP
- MCU
- 示波器
- 步進(jìn)電機(jī)
- Zigbee
- LabVIEW
- Arduino
- RFID
- NFC
- STM32
- Protel
- GPS
- MSP430
- Multisim
- 濾波器
- CAN總線
- 開關(guān)電源
- 單片機(jī)
- PCB
- USB
- ARM
- CPLD
- 連接器
- MEMS
- CMOS
- MIPS
- EMC
- EDA
- ROM
- 陀螺儀
- VHDL
- 比較器
- Verilog
- 穩(wěn)壓電源
- RAM
- AVR
- 傳感器
- 可控硅
- IGBT
- 嵌入式開發(fā)
- 逆變器
- Quartus
- RS-232
- Cyclone
- 電位器
- 電機(jī)控制
- 藍(lán)牙
- PLC
- PWM
- 汽車電子
- 轉(zhuǎn)換器
- 電源管理
- 信號(hào)放大器
評(píng)論